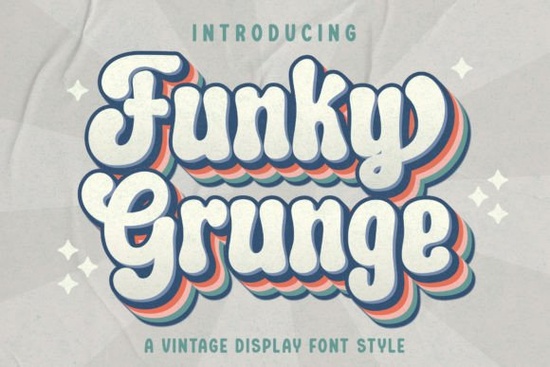
If you need a typeface that brings instant retro character to your projects, Funky Grunge Font delivers exactly that. This vintage-style display font uses rough edges, worn textures, and slightly irregular letterforms to mimic the look of aged posters, stamped packaging, and hand-printed signage. Instead of clean, polished lines, it leans into imperfection, which makes it a reliable choice for designers, crafters, and print-on-demand sellers who want their work to feel lived-in and authentic.
What makes this vintage display typeface stand out?
The charm of a grunge-inspired font comes from its controlled chaos. Each character carries subtle distress marks and uneven baselines that read as handmade rather than machine-generated. When you scale it up for headlines or product titles, those textured details become visible and add depth without requiring extra graphic elements. For small business branding or hobbyist projects, that built-in character saves time. You do not need to overlay grunge brushes or vintage filters because the lettering already carries that weathered aesthetic. If you prefer smoother alternatives for contrast, you might also explore a hand-painted brush style when your layout needs a softer counterpoint.
Where does a grunge-style lettering work best?
This kind of display typeface shines in projects that benefit from a nostalgic or rugged mood. Think concert flyers, coffee shop menus, streetwear labels, and retro-themed wedding invitations. Print-on-demand sellers often use it on t-shirt graphics, tote bags, and sticker sheets because the rough edges hold up well during screen printing and direct-to-garment processes. It also works nicely for social media quote cards, podcast cover art, and stationery sets that aim for a thrift-store vibe. When your design calls for something playful but still grounded, a sweet retro script can sit underneath as a supporting accent without competing for attention.
How do you pair retro fonts without cluttering your layout?
Grunge lettering carries a lot of visual weight, so balance is everything. Keep your body copy in a clean sans serif or a simple serif family to let the display font breathe. Limit the distressed typeface to one or two words per layout, and give it generous padding so the texture does not bleed into nearby elements. Adjust tracking slightly tighter for all-caps headlines, but avoid squeezing the letters until the grunge details merge into a solid block. If you are building a sports-themed poster or a collegiate merch line, you might test a blocky athletic typeface for secondary headlines while keeping the vintage font as your main focal point. For softer, memory-driven projects like baby shower invites or scrapbook covers, a nostalgic handwritten style often creates a gentle contrast that keeps the page readable.
What file formats and licensing details should you check before downloading?
Most display fonts on Creative Fabrica arrive as standard OTF and TTF files, which install smoothly on Windows and Mac systems. Some packs also include web font formats or alternate glyphs, so it helps to review the included readme file before starting your design. If you plan to sell physical products or digital templates, verify that the license covers commercial use and print-on-demand distribution. Many creators overlook this step and run into restrictions later. You can review the full licensing terms and grab the Funky Grunge Font directly from the marketplace to ensure you have the correct commercial rights for your shop.
Which technical settings keep the texture crisp across different mediums?
Distressed fonts can lose their detail if exported at low resolution or compressed heavily for web use. When preparing files for print, stick to 300 DPI and avoid flattening layers until the final export. For digital graphics, save your designs as PNG or SVG with transparent backgrounds so the rough edges do not pick up unwanted halos. If you are cutting vinyl or heat transfer material, run a quick test cut on a small phrase first. Highly textured letterforms sometimes create tiny disconnected nodes that cutting software struggles to read. Simplifying the path or adding a thin offset stroke usually resolves those issues without changing the overall look.
Before you add this typeface to your next project, run through a quick setup checklist:
- Install both OTF and TTF versions, then restart your design software to refresh the font menu.
- Test the font at actual print size to confirm the grunge details remain visible and legible.
- Pair it with a neutral body font and keep line spacing generous for comfortable reading.
- Check the commercial license if you plan to sell merchandise, templates, or digital downloads.
- Export a small test file in your final format to catch any compression or cutting issues early.
Start with a single headline, adjust the spacing until the texture reads clearly, and let the rest of your layout stay clean. That simple approach keeps your design focused and makes the retro lettering do exactly what it was built for. If you want to see how the full character set looks in context, you can also browse this grunge display collection for additional layout inspiration.
Get Started Simple Stacked Font Designs & Creative Applications
 A Strawberry Milk Candy Font Design Guide
 Army Font Designs for Varsity Sport Projects
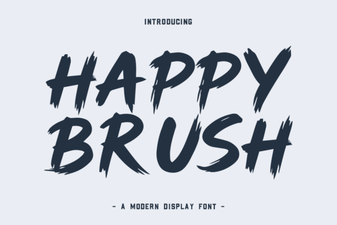 A Creative Brush Font for Modern Designs
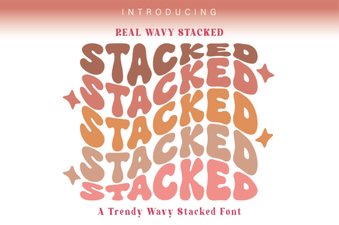 Wavy Stacked Fonts for Creative Typography Projects
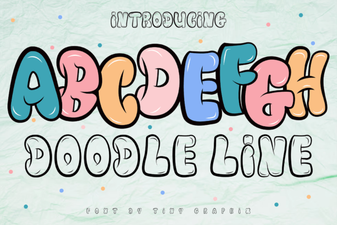 Doodle Fonts for Creative Projects